How to Start Trading on Hyperliquid
Fastest practical path from wallet setup to your first position
Get from wallet setup to your first trade in minutes
We remove friction so you can go from zero to trading in ~10-15 minutes.

Non-custodial
The platform does not custody your funds
On-chain & transparent
Actions can be verified
You stay in control
You manage your funds
How this guide works
Choose how you want to go through it
Follow the quick path (~10 min)
Go from wallet to your first trade as fast as possible
Open Quick StartRead step-by-step
Understand each part before you start trading
Explore stepsThe short answer
To start trading on Hyperliquid:
That’s it — the rest just helps you do it correctly.
Why it's different
- No KYC or account
- You control your funds
- Fast, decentralized, transparent
Step 1 - Set up your wallet
On Hyperliquid, you do not create an account. Your wallet acts as your account.
The simplest way to start is using email login. A wallet is created for you automatically.
If you prefer full control, use a browser wallet like MetaMask or Rabby.
See step-by-step wallet setup guide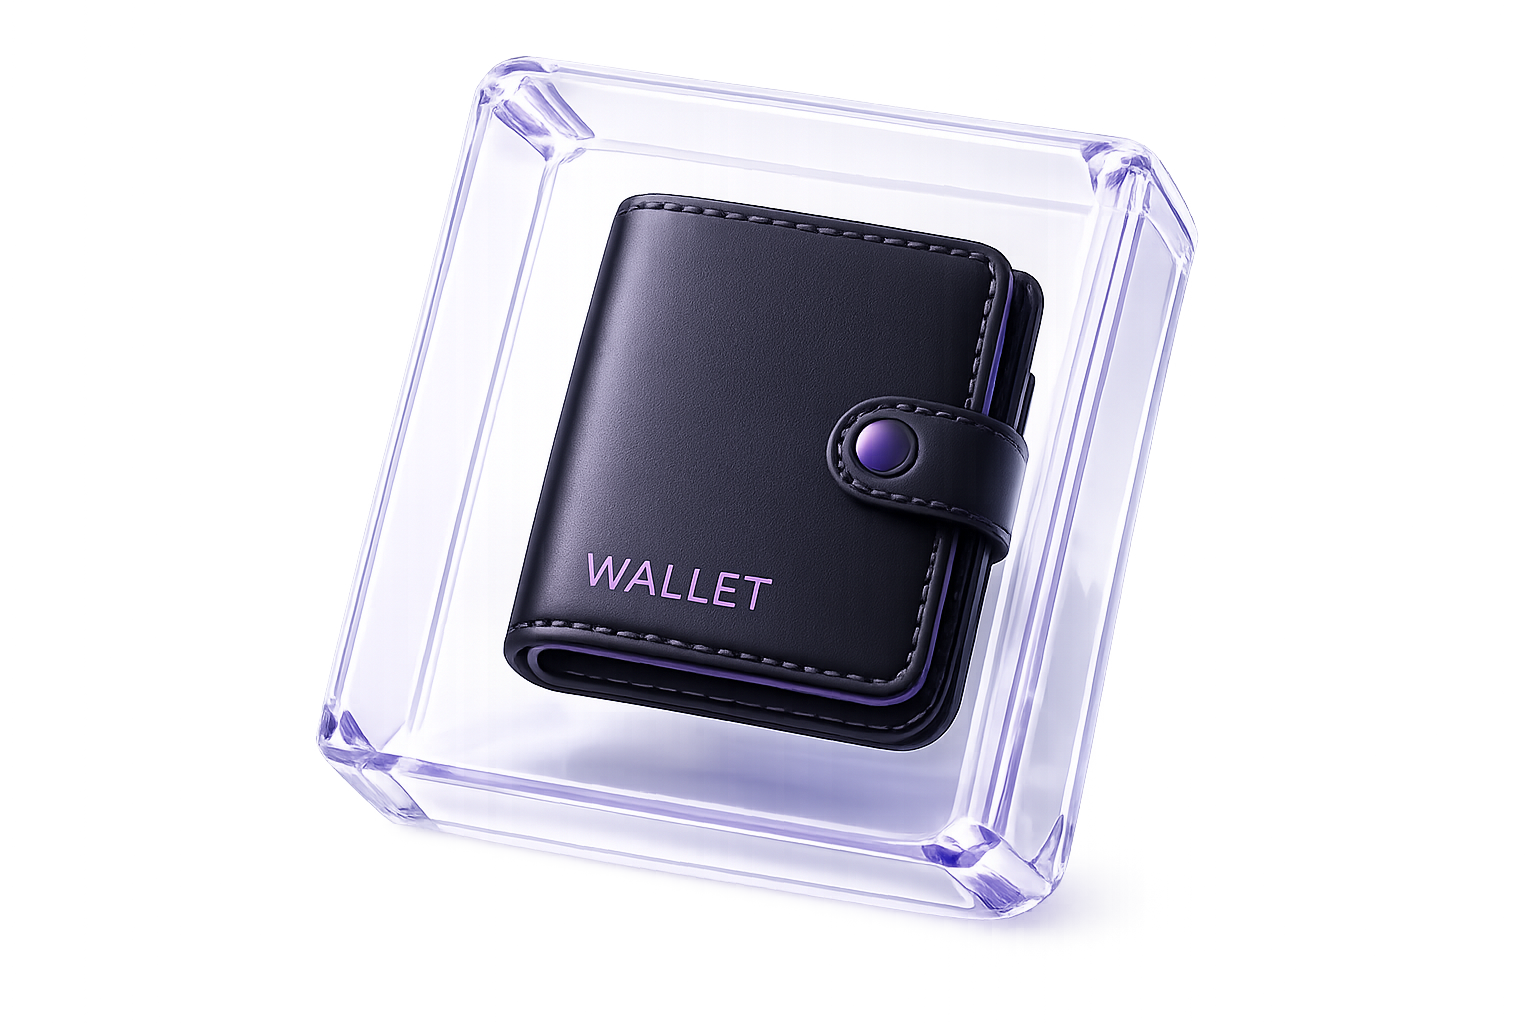
Step 2 - Get USDC
Hyperliquid uses USDC for trading, so you need to fund your wallet with it.
Choose your funding path:
Recommended (fastest): Buy USDC directly with a card so it appears in the wallet you will use on Hyperliquid.
Alternative: If you already hold crypto, convert part of it to USDC first, then continue with the deposit flow.
The simplest way to start is to fund your account directly with a bank card.
At this step, you will fund your account with USDC and continue to the next step.
Step 3 - Deposit USDC to Hyperliquid
Once USDC is in your wallet, move it to your Hyperliquid trading balance.
This is the point where your USDC becomes available inside Hyperliquid for trading. The deposit may require one approval, then the actual transaction confirmation.
You move USDC from your wallet to your Hyperliquid trading balance.
Once confirmed, your funds will be available for trading.
Step 4 - Understand the trading screen
Once funded, you will see Hyperliquid's trading interface.
At first it may look complex, but you only need a few elements to start:
You don't need to fully understand this to start trading.
You'll learn it in practice.
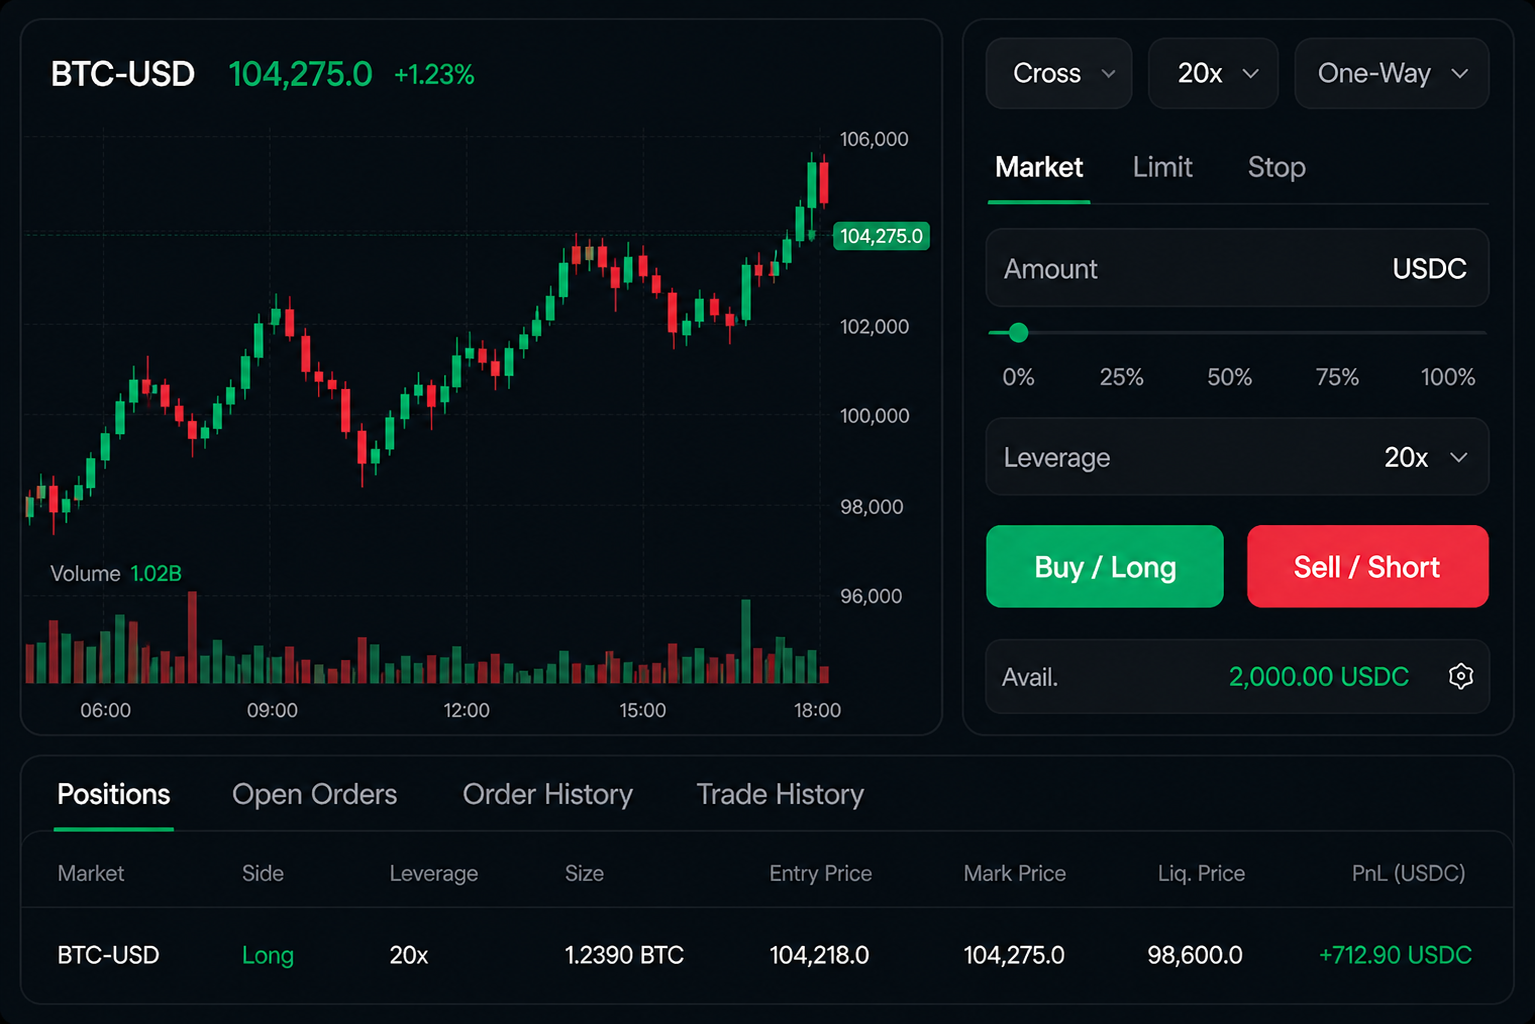
What happens here: You open the trading screen and identify the core areas you'll use for your first trade.
Tip: Start small. You can always increase size later, once you feel more comfortable.
Step 5 - Place your first trade
Your first trade should be simple. Most beginners start with BTC or ETH perpetuals because they are more liquid and easier to follow.
Your first trade is defined by a few key decisions:
Long — if you expect the price to rise
Short — if you expect the price to fall
Increases both potential profit and risk
Start low - 2x-3x
Determines how much capital you put into the trade
Smaller is safer
Market — instant
Limit — at your price
Before opening a trade, check the liquidation price. This is the level where your position would be automatically closed if the market moves against you.
Liquidation happens fast.
Always check your liquidation price before entering a trade.
Focus on learning the flow, not maximizing profit.
Step 6 - Avoid common beginner mistakes
Most losses come from simple mistakes, not complex strategies.
A few basic rules help a lot:
Your first trades are not about maximizing profit.
They are about understanding how the system works.
Want to understand more before starting?
The bottom line
Starting on Hyperliquid is simpler than most traders expect.
You don't need account setup or KYC to place your first trade.
What matters most is following the flow step by step and keeping risk small at the beginning.
Keep your first trades focused on execution quality, not profit maximization.
Learn the process first. Scale later.
That's the fastest way to start trading on Hyperliquid.